
GUIDE · TROUBLESHOOTING
FPV Camera Image Quality Has Got Worse: What to Check Before Replacing It
If the image has become blurry or unstable, the camera may not be the cause. Before replacing it, check focus, connections, power, the video path and lighting conditions.
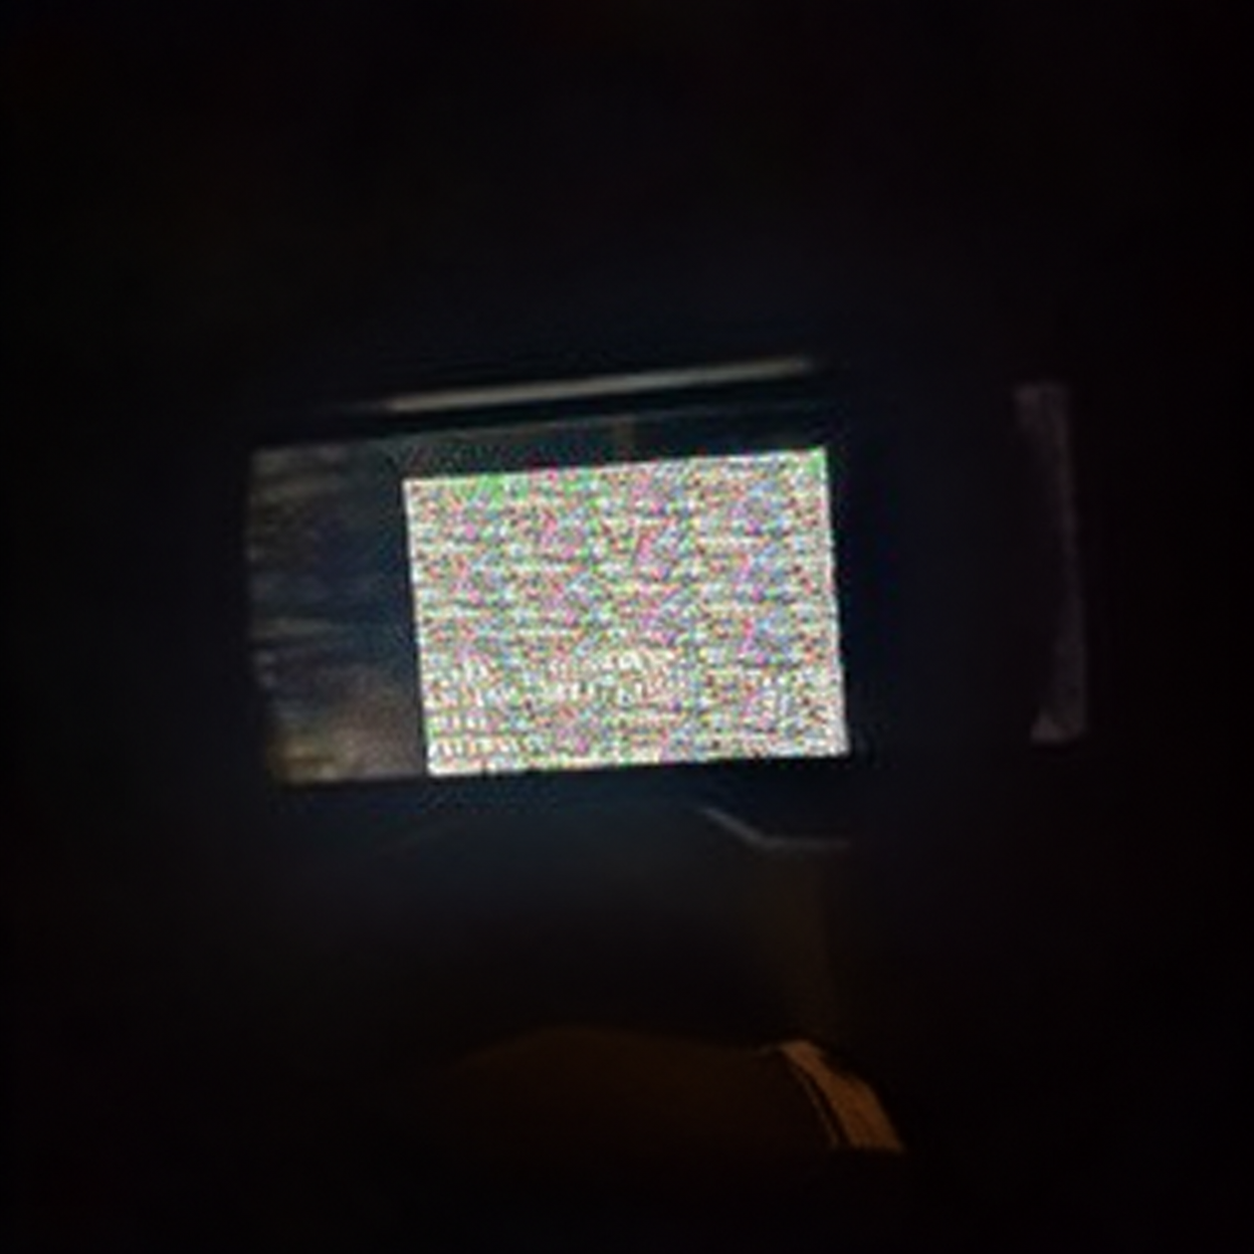
Has the image become blurry, noisy or unstable? That does not necessarily mean the camera itself is faulty.
Before replacing it, check focus, connections, power and the other parts of the video path.
1. Start with the simplest check: focus
A blurry image does not prove the camera is faulty. Sharpness depends on lens position, which can sometimes shift during transport or installation.
Check whether nearby and distant details are equally blurry. If the image is stable but focus does not suit the scene, it may sometimes be adjusted carefully by turning the lens. Do not force it; focus adjustment does not help in every case.
2. Identify how the problem appears
Before taking action, describe the symptom. Is the whole frame always blurry? Does the image disappear intermittently? Are there lines or strong interference? Is it acceptable in daylight but worse as lighting changes? Did the problem start after assembly or reconnecting components?
Image dropouts may be caused by a connection or another part of the video path. For lines, ripple, a black screen or overheating, use the step-by-step troubleshooting guide. If the issue appears only in certain lighting, compare like-for-like conditions before concluding that something is faulty.
Think about what changed before the problem appeared. Check one factor at a time to identify what affected the image.
If the problem started after installation, inspect that connection first. For an unstable analogue format, check the camera mode against the receiver, goggles or DVR using the PAL/NTSC compatibility guide.
3. Check Power and Connections
Inspect the camera connections: is the wire secure, is there visible damage, and are the connector or solder joints stable? Check with the system switched off; do not touch exposed live contacts. If you see damage or are unsure, consult an assembly specialist.
Compare the power source with the requirements of your specific model. There is no universal value for all FPV cameras; use the permitted range in the product specifications. Do not guess the voltage or test the camera in a mode that conflicts with the documentation.
4. Do Not Confuse the Camera with the Rest of the Video Path
The camera is only the beginning of the video signal path. Connections and other system components affect what you see next. An unstable image is not necessarily caused by the camera.
Check whether the symptom remains after inspecting connections or in another configuration known to work. Do not disassemble electronics without a clear reason.
5. Consider the Lighting Conditions
The same camera can look different in daylight, at dusk or in a scene with both bright and dark areas. If the image changes with lighting, this is not always a sign of failure. Compare it in the conditions where it is intended to be used.
The article explains image performance as daylight fades into dusk «As Daylight Fades: Choosing an FPV Camera for Changing Light». This can help distinguish an expected response to the scene from symptoms that recur regardless of conditions.
6. When a Camera Really Needs Replacement
After the basic checks, assess whether the problem remains and whether it can be linked to the camera. A structural defect differs from an adjustment issue. For example, a missing mounting thread cannot be fixed by adjusting focus.
A camera is replaced when a structural defect is confirmed. A blurry image alone does not prove a defect; first describe the symptom so its cause can be assessed.
QUICK CHECKLIST
A Quick Check Sequence
Check these points before concluding that the camera is faulty.
- Describe the problem.Record what is happening and when it started.
- Check focus.If the image is stable but blurry, assess the lens position.
- Inspect connections.With the system off, check wires, connectors and visible damage.
- Check power against the specifications.Use the requirements for the specific model; do not guess.
- Check the rest of the video path.Do not attribute a symptom to the camera if it may occur elsewhere in the system.
- Consider the lighting.Compare the image in conditions close to actual use.
- Only then assess a fault.If the symptom remains, describe it and ask for help.
What Information Helps Assess the Problem
When asking for help, include the model, when the symptom appeared, the conditions in which it occurs and what you have checked. For a new build, mention whether the camera position or connections have changed.
Need help? Contact FPV Vision.